This site maintained by Windows Labs Administrator
Suggestions and comments about this web site: [email protected]
This page was last modified: 13 August 2017 01:35 PM
| Browsing through No-Proxy |
Configure the No-Proxy Open Internet Explorer, Go to -> Tools Menu -> Internet Option -> Connection -> LAN Settings -> remove the check mark from “Automatically detect settings” and “Use a proxy server for your LAN” -> OK -> OK |
In IIT Kanpur, the No-Proxy connection is configured through two Gateways
|
Fortinet Gateway |
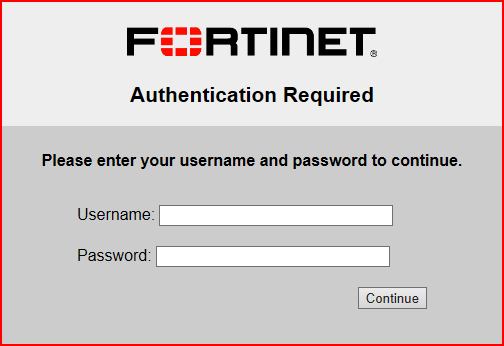
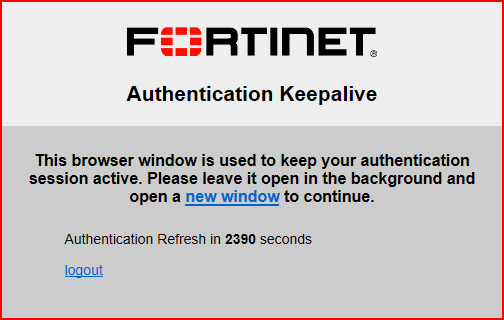
If the network is configured for Fortinet IP settings then the following screen will appear in the browser. Input username, password and click on "Continue". Do not close the window of Fortinet Authentication until the work is done. |
 |
 |
Cisco Gateway |
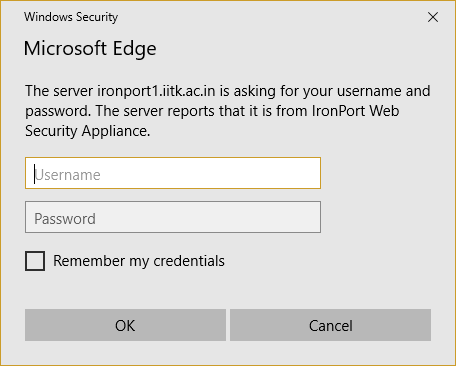
If the network is configured for Cisco IP settings then the following screen will appear in the browser asking credentials for "ironport1.iitk.ac.in". Step1. Input username, password and click on "OK". |
 |
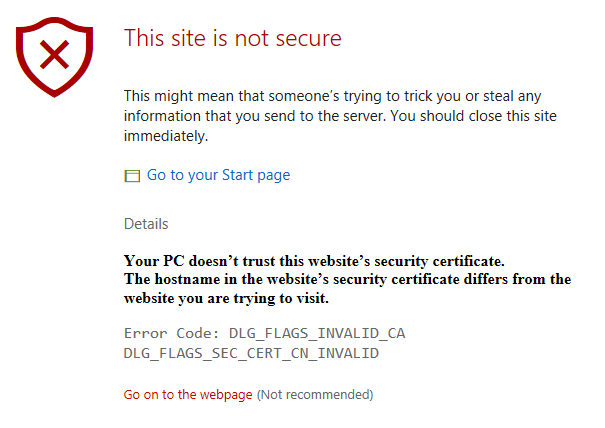
Note: Although at this point, the user will be able to browse internet, but certain services and applications which require direct internet access may still not work unless user completes step2. Step2. Open "noproxy.iitk.ac.in" in new tab, click "Details" and the click on "Go on to the webpage". |
 |
Input username, password and click on "Continue". Do not close the window of Fortinet Authentication until your work is done. |
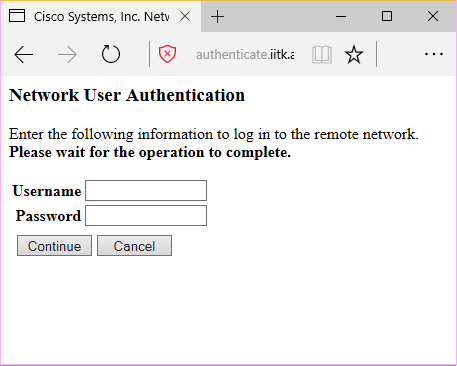 |
 |
To verify "No Proxy" Connection Open www.google.com in new tab of Browser and
then Open Command prompt and run command “ping www.google.com”, it will show you the following response at command prompt |